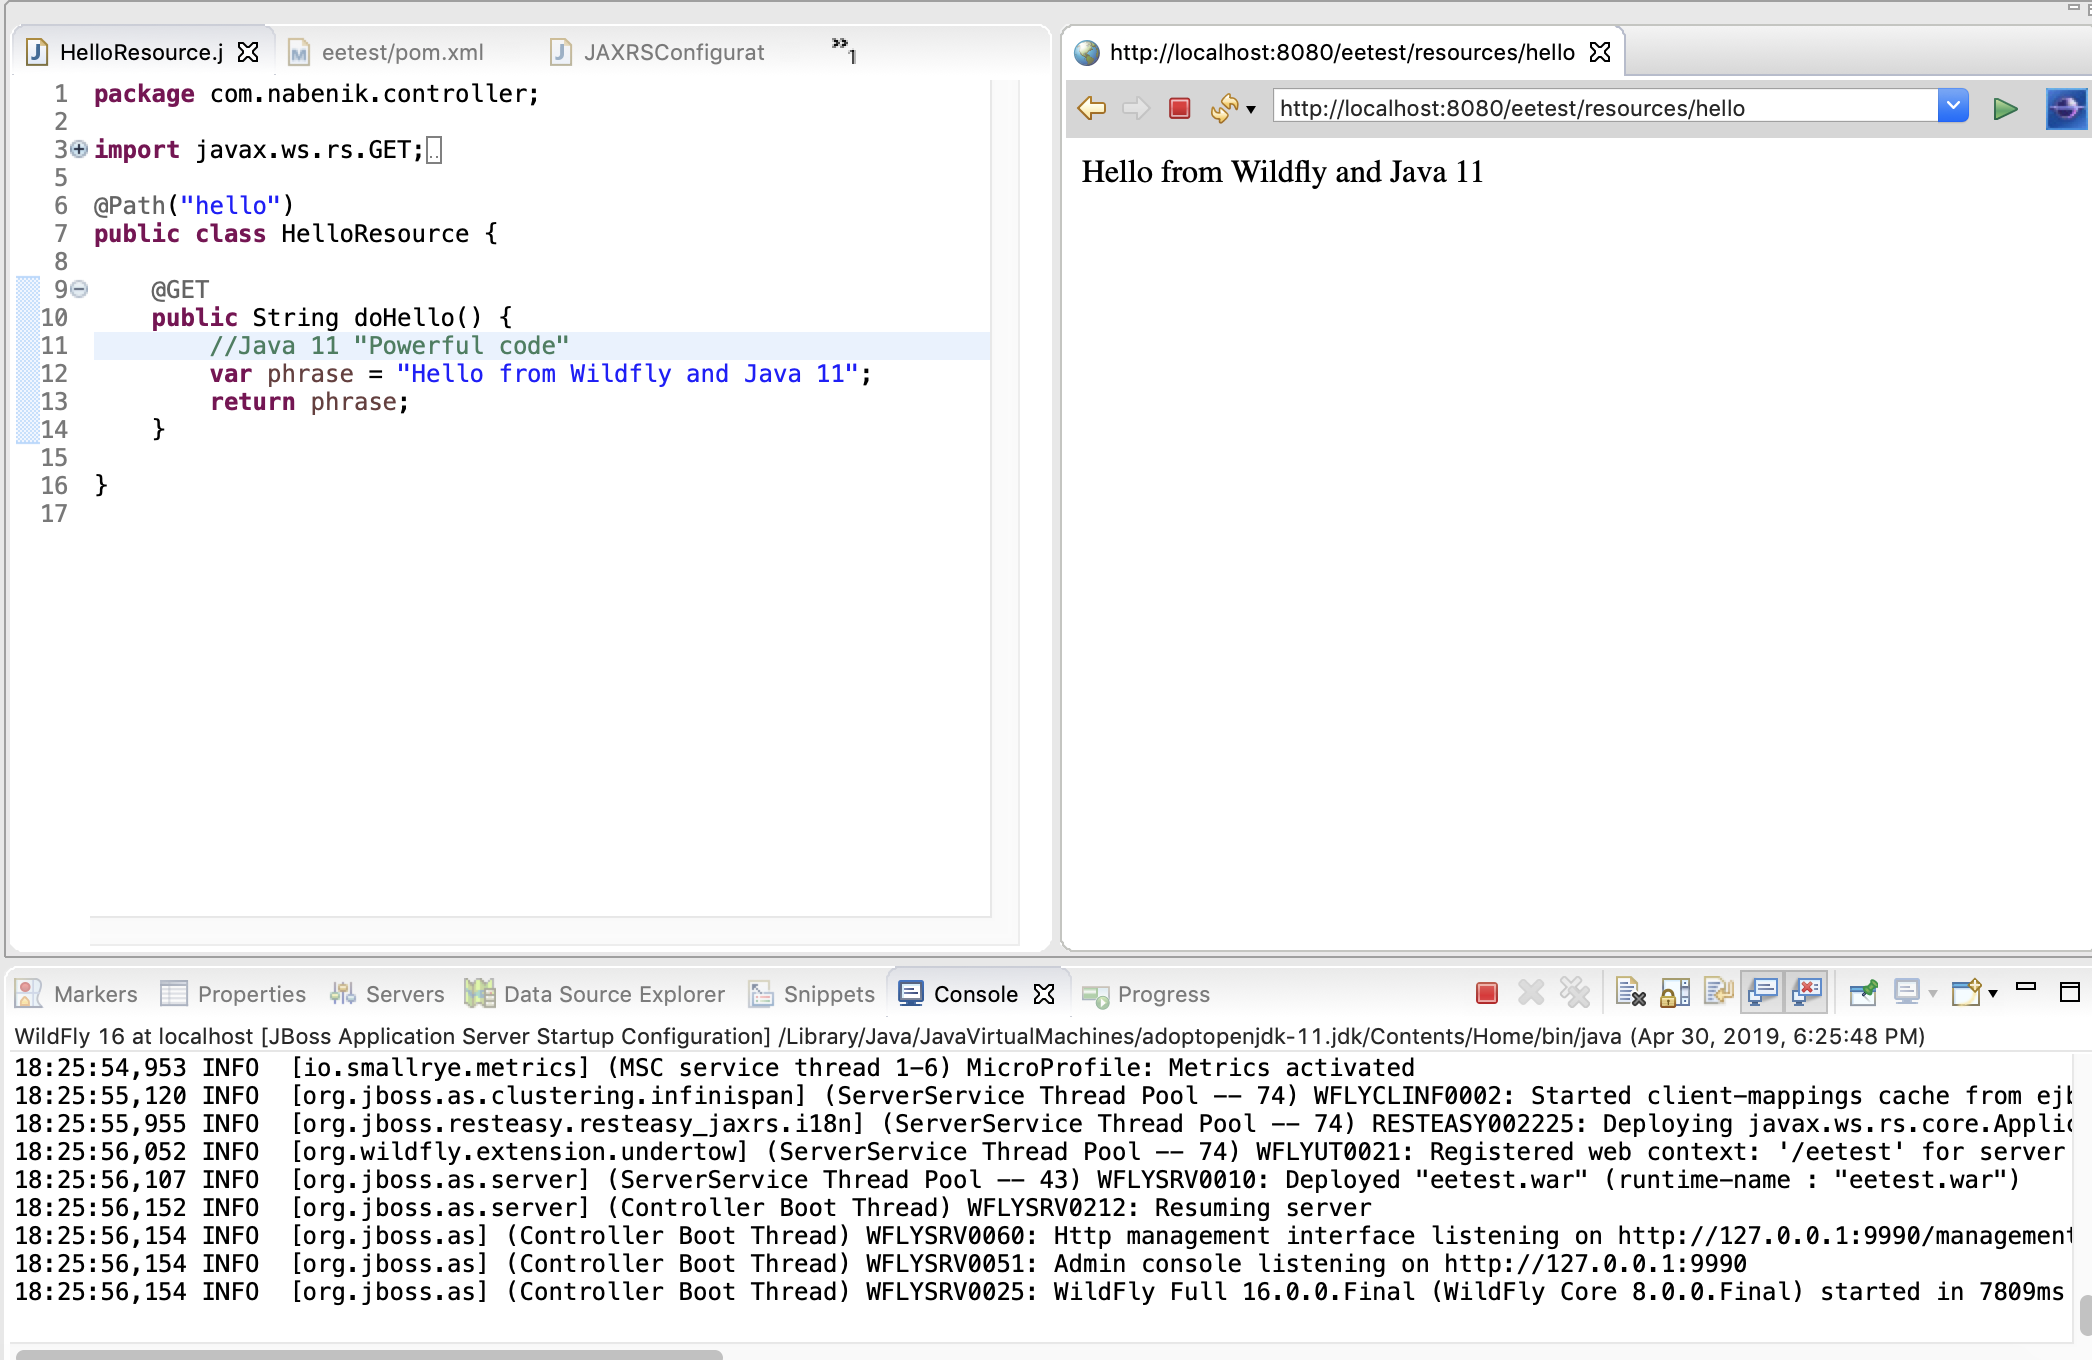
Getting started with Java EE 8, Java 11, Eclipse for Java Enterprise and Wildfly 16
30 April 2019

In this mini-tutorial we will demonstrate the configuration of a pristine development environment with Eclipse, JBoss Tools and Wildfly Application Server on MacOS.
From JBoss with love
If you have been in the Java EE space for a couple of years, Eclipse IDE for Java Enterprise Developers is probably one of the best IDE experiences, making an easy task the creation of applications with important EE components like CDI, EJB, JPA mappings, configuration files and good interaction with some of the important application servers (TomEE, WebLogic, Payara, Wildfly, JBoss).
In this line, Red Hat develops the Eclipse variant "CodeReady Studio" giving you and IDE with support for Java Enterprise Frameworks, Maven, HTML 5, Red Hat Fuse and OpenShift deployments.
To give support to its IDE, Red Hat also publishes CodeReady plugins as an independent project called JBoss Tools, enabling custom Enterprise Java development environments with Eclipse IDE for Java Enterprise developers as basis, which we demonstrate in this tutorial.
Why? For fun. Or as in my case, I don't use the entire toolset from Red Hat.
Requirements
In order to complete this tutorial you will need to download/install the following elements:
1- Java 11 JDK from Oracle or any OpenJDK distro
2- Eclipse IDE for Enterprise Java Developers
3- Wildfly 16
Installing OpenJDK
Since this is an OS/distribution dependent step, you could follow tutorials for Red Hat's OpenJDK, AdoptOpenJDK, Ubuntu, etc. At this time, Wildfly has Java 11 as target due new Java-LTS version scheme.
For MacOS one convenient way is AdoptOpenJDK tap.
First you should install Homebrew
/usr/bin/ruby -e "$(curl -fsSL https://raw.githubusercontent.com/Homebrew/install/master/install)"
After that and if you want an specific Java version, you should add AdoptOpenJDK tap and install from there. For instance if we like a OpenJDK 11 instance we should type:
brew tap AdoptOpenJDK/openjdk
brew cask install adoptopenjdk11
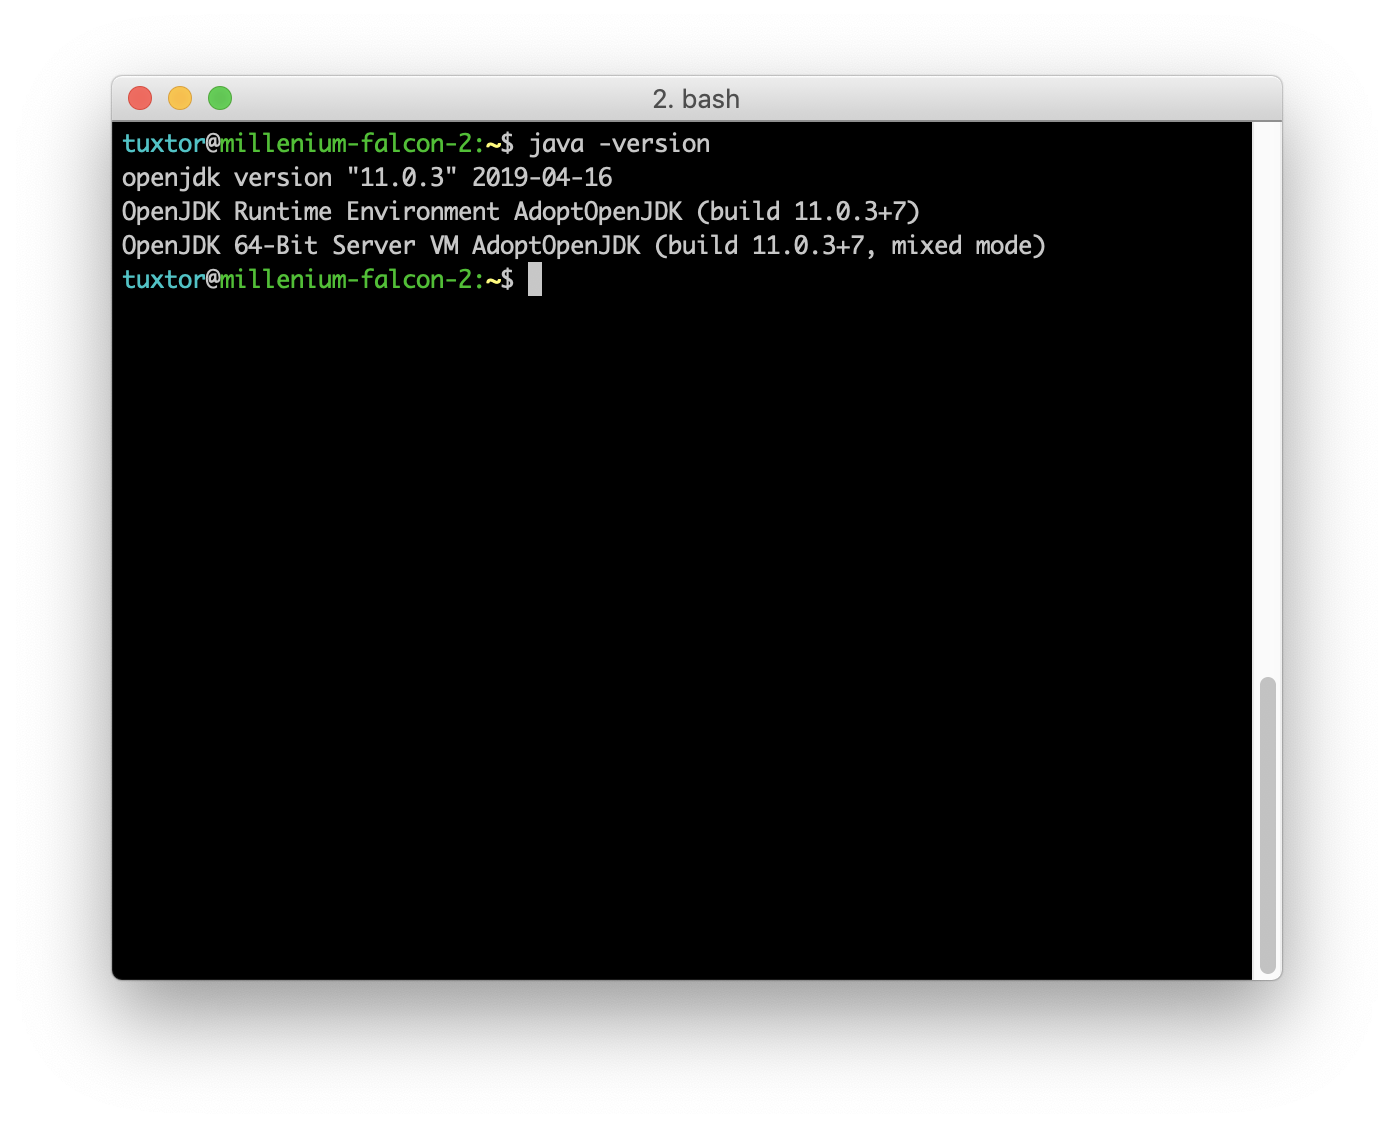
If all works as expected, you should have a new Java 11 environment running:
Eclipse IDE for Enterprise Java Developers
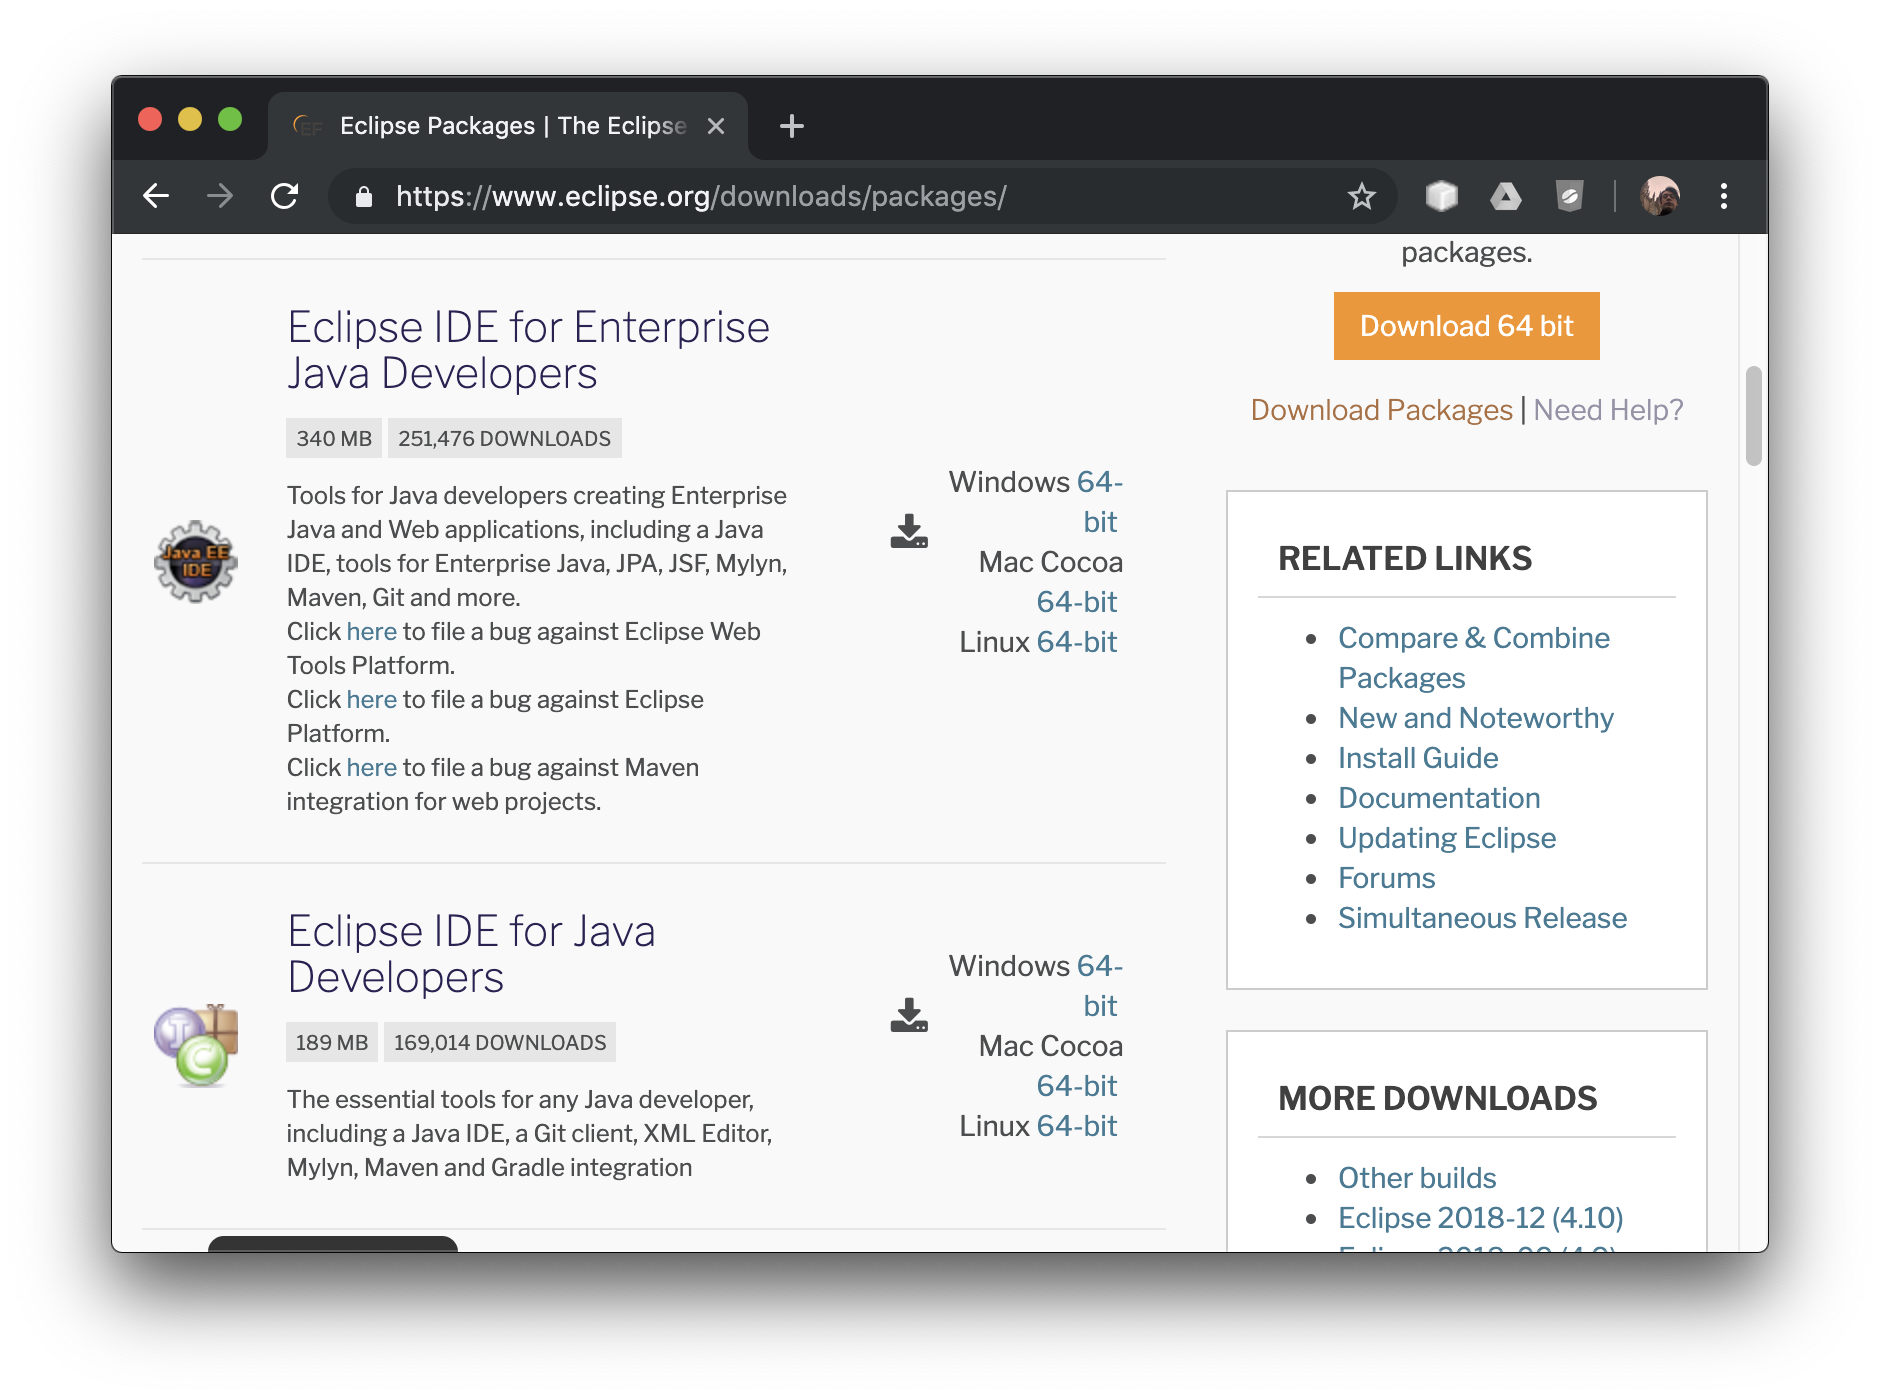
Eclipse offers collections of plugins denominated Packages, each package is a collection of common plugins aimed for a particular development need. Hence to simplify the process you could download directly Eclipse IDE for Enterprise Java Developers.
On Mac you will download a convenient .dmg file that you should drag and drop on the Applications folder.
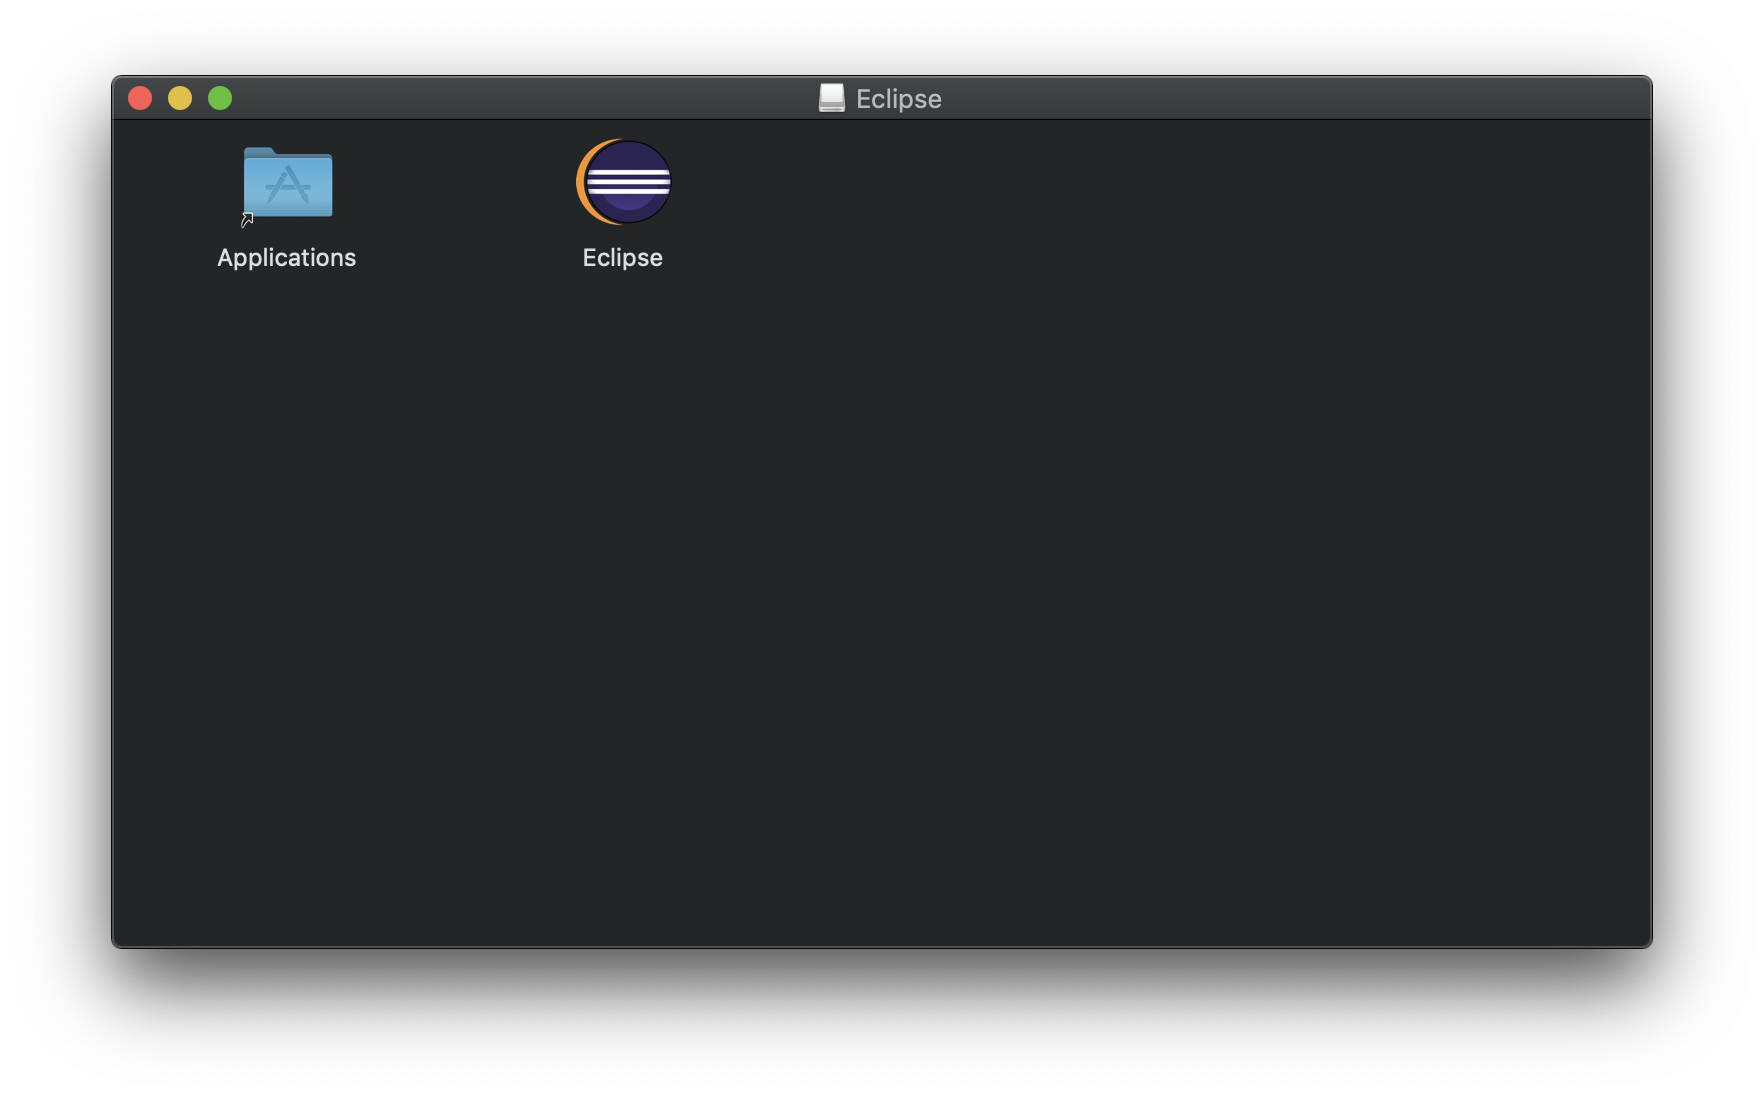
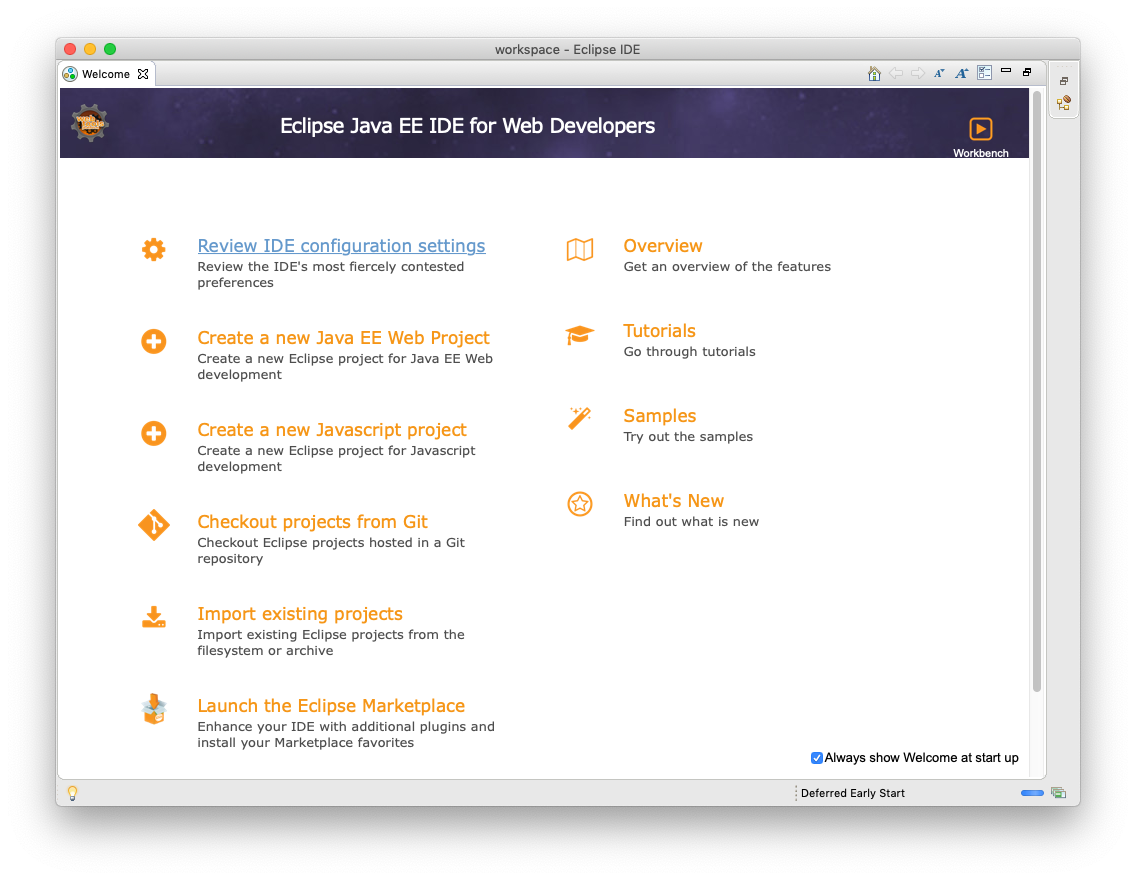
The result is a brand new Eclipse Installation with Enterprise Java (Jakarta EE) support.
JBoss Tools
To install the "Enterprise Java" Features to your Eclipse installation, go to JBoss Tools main website at https://tools.jboss.org/ you should double check the compatibility with your Eclipse version before installing. Since Eclipse is lauching new versions each quarter the preferred way to install the plugins is by adding the update URL .
First, go to:
Help > Install New Software… > Work with:
And add the JBoss Tools URL http://download.jboss.org/jbosstools/photon/development/updates/
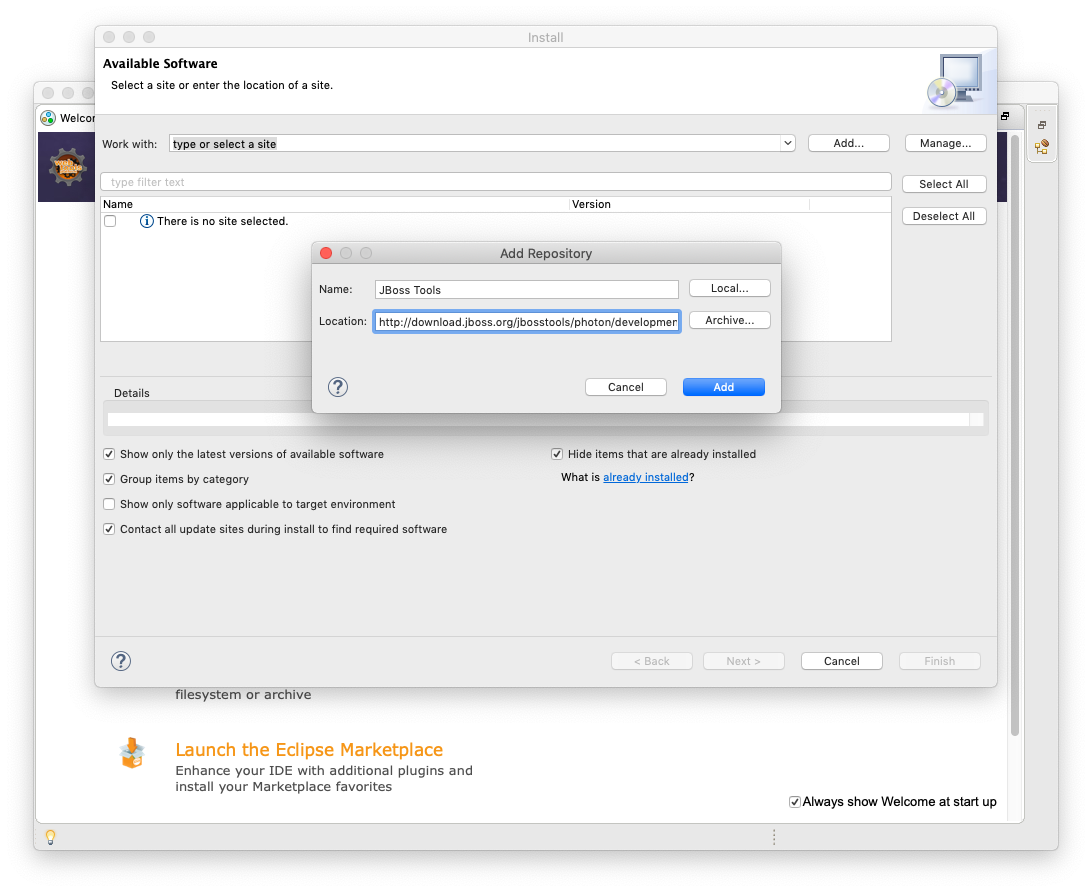
After that you should select the individual features, a minimal set of features for developers aiming Jakarta EE is:
- JBoss Web and Java EE Development: Support for libraries and tools like DeltaSpike, Java EE Batch, Hibernate, JavaScript, JBoss Forge
- JBoss Application Server Adapters: Support for JBoss, Wildfly and OpenShift 3
- JBoss Cloud and Container Development Tools: Support for Vagrant, Docker and Red Hat Containers development kit
- JBoss Maven support: Integrations between Maven and many EE/JBoss APIs
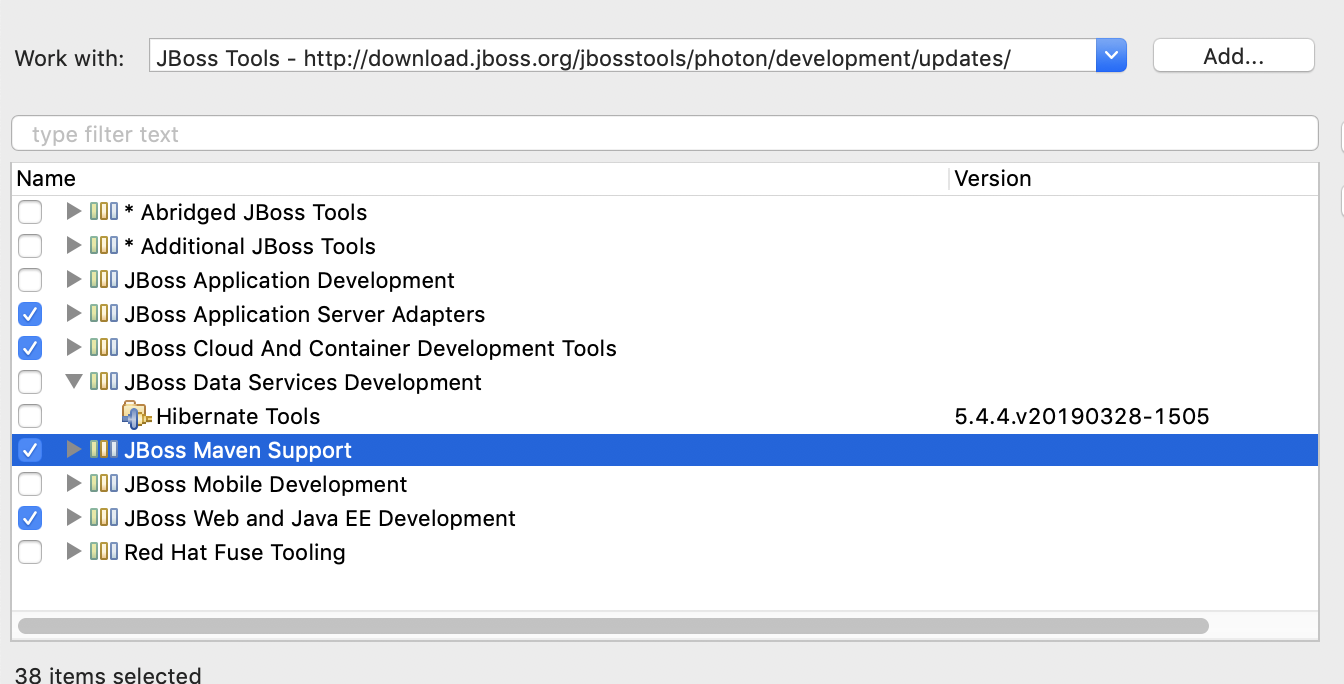
Finally you should accept licenses and restart your Eclipse installation.
Wildfly 16
Wildfly distributes the application server in zip or tgz files. After getting the link you could do the install process from the CLI. For example if you wanna create your Wildfly directory at ~/opt/ you should execute the following commands
mkdir ~/opt/
cd ~/opt/
wget https://download.jboss.org/wildfly/16.0.0.Final/wildfly-16.0.0.Final.zip
unzip wildfly-16.0.0.Final.zip
It is also convenient to add an administrative user that allows the creation of DataSources, Java Mail destinations, etc. For instance and using again ~/opt/ as basis:
cd ~/opt/wildfly-16.0.0.Final/bin/
./add-user.sh
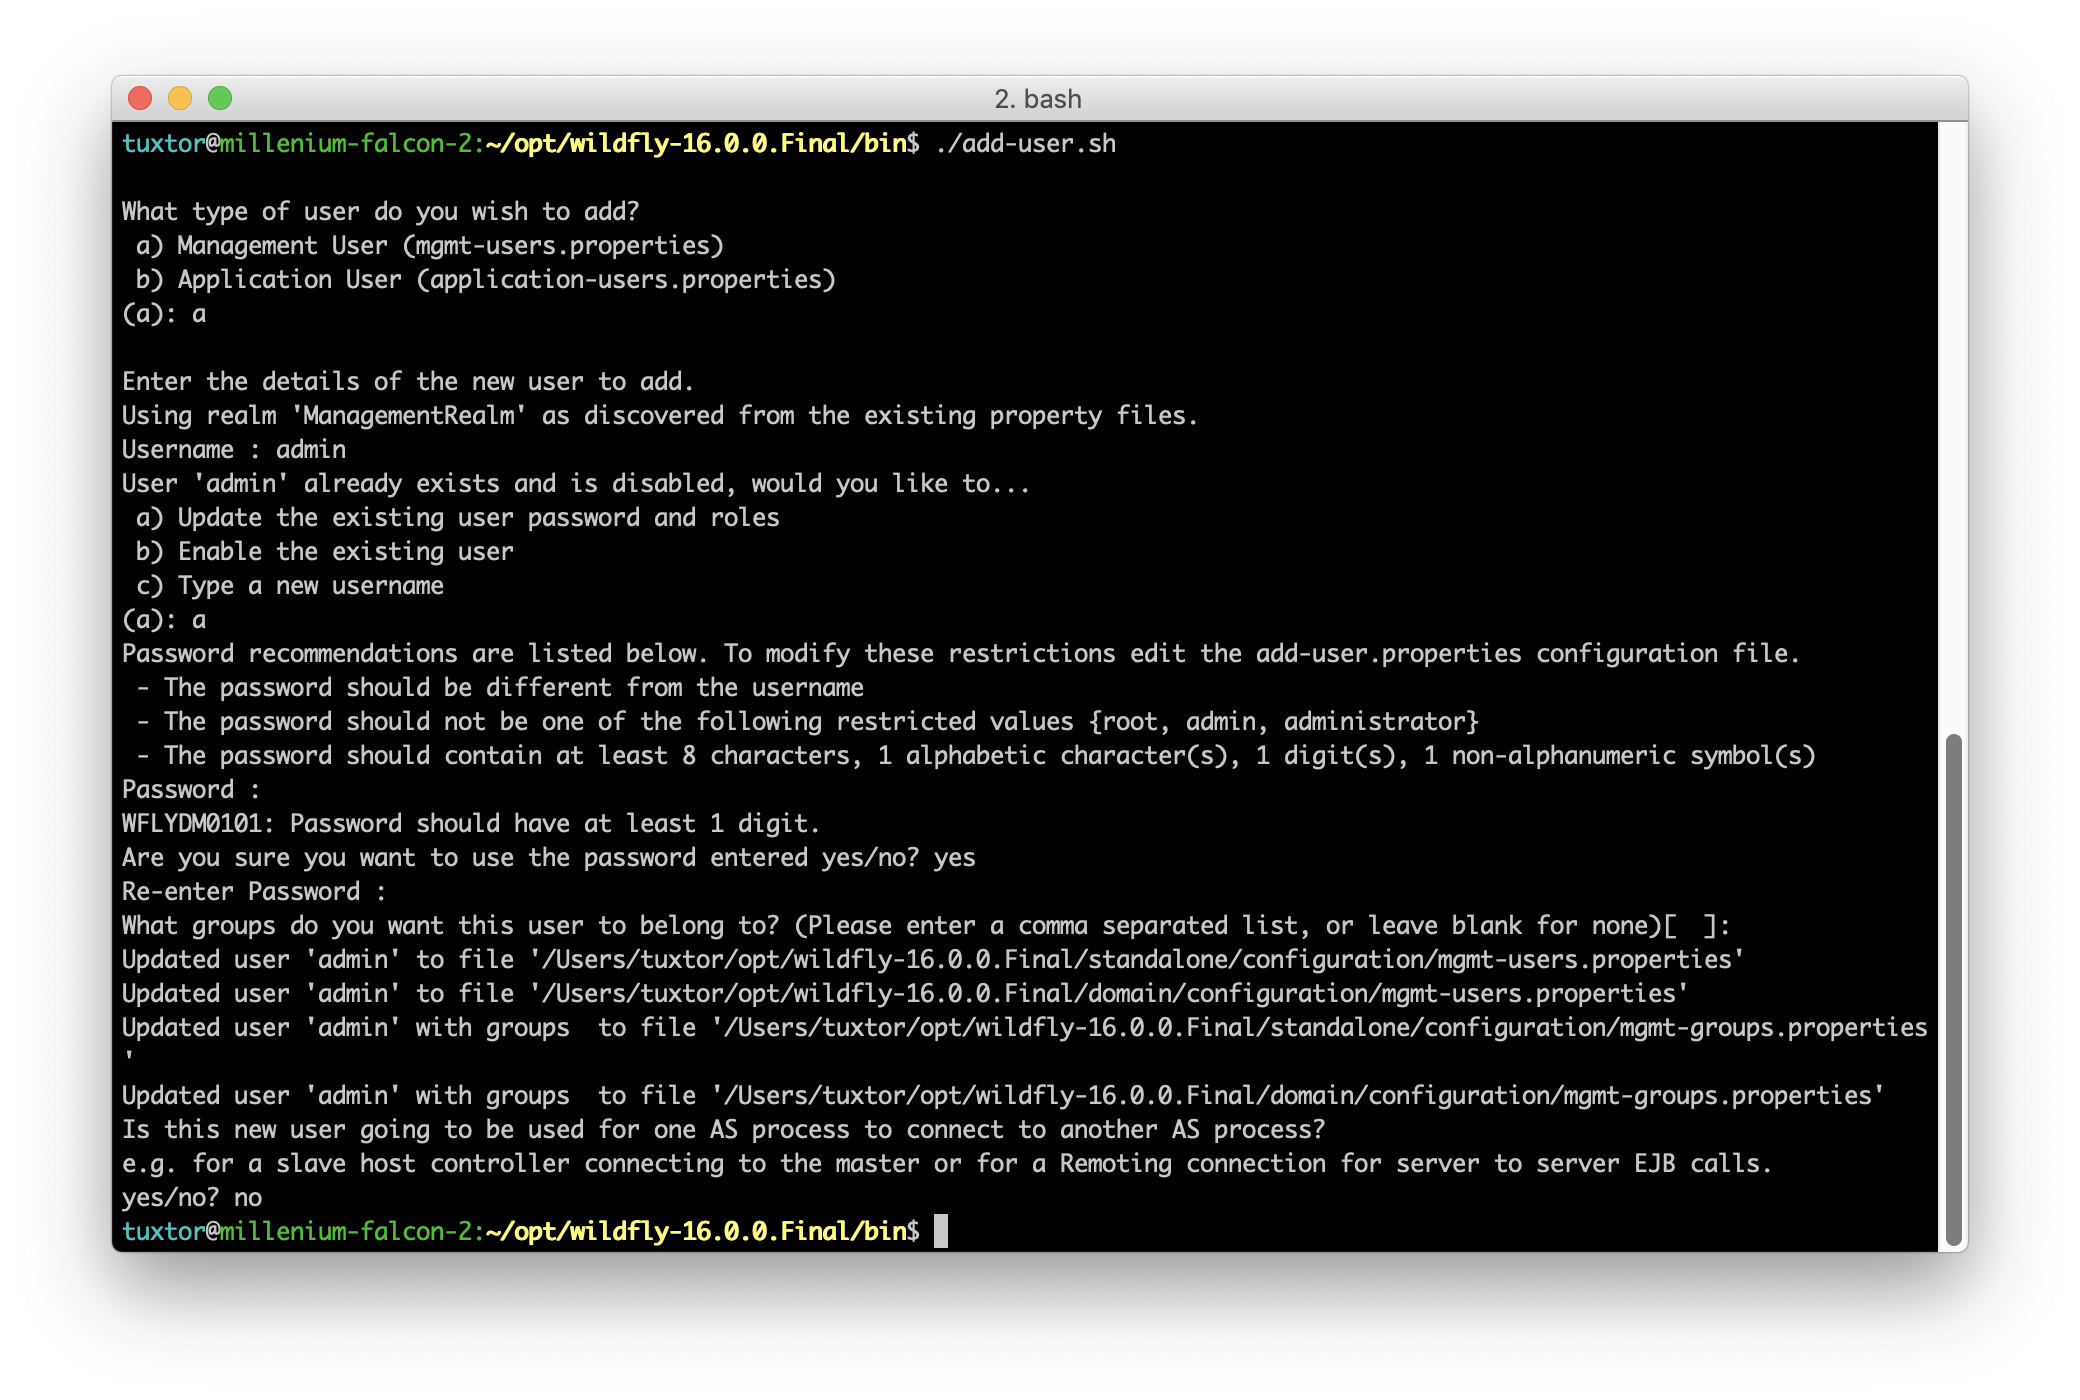
The script will ask basic details like user name, password and consideration on cluster environments, in the end you should have a configured Wildfly instance ready for development, to start the instance just type:
~/opt/wildfly-16.0.0.Final/bin/standalone.sh
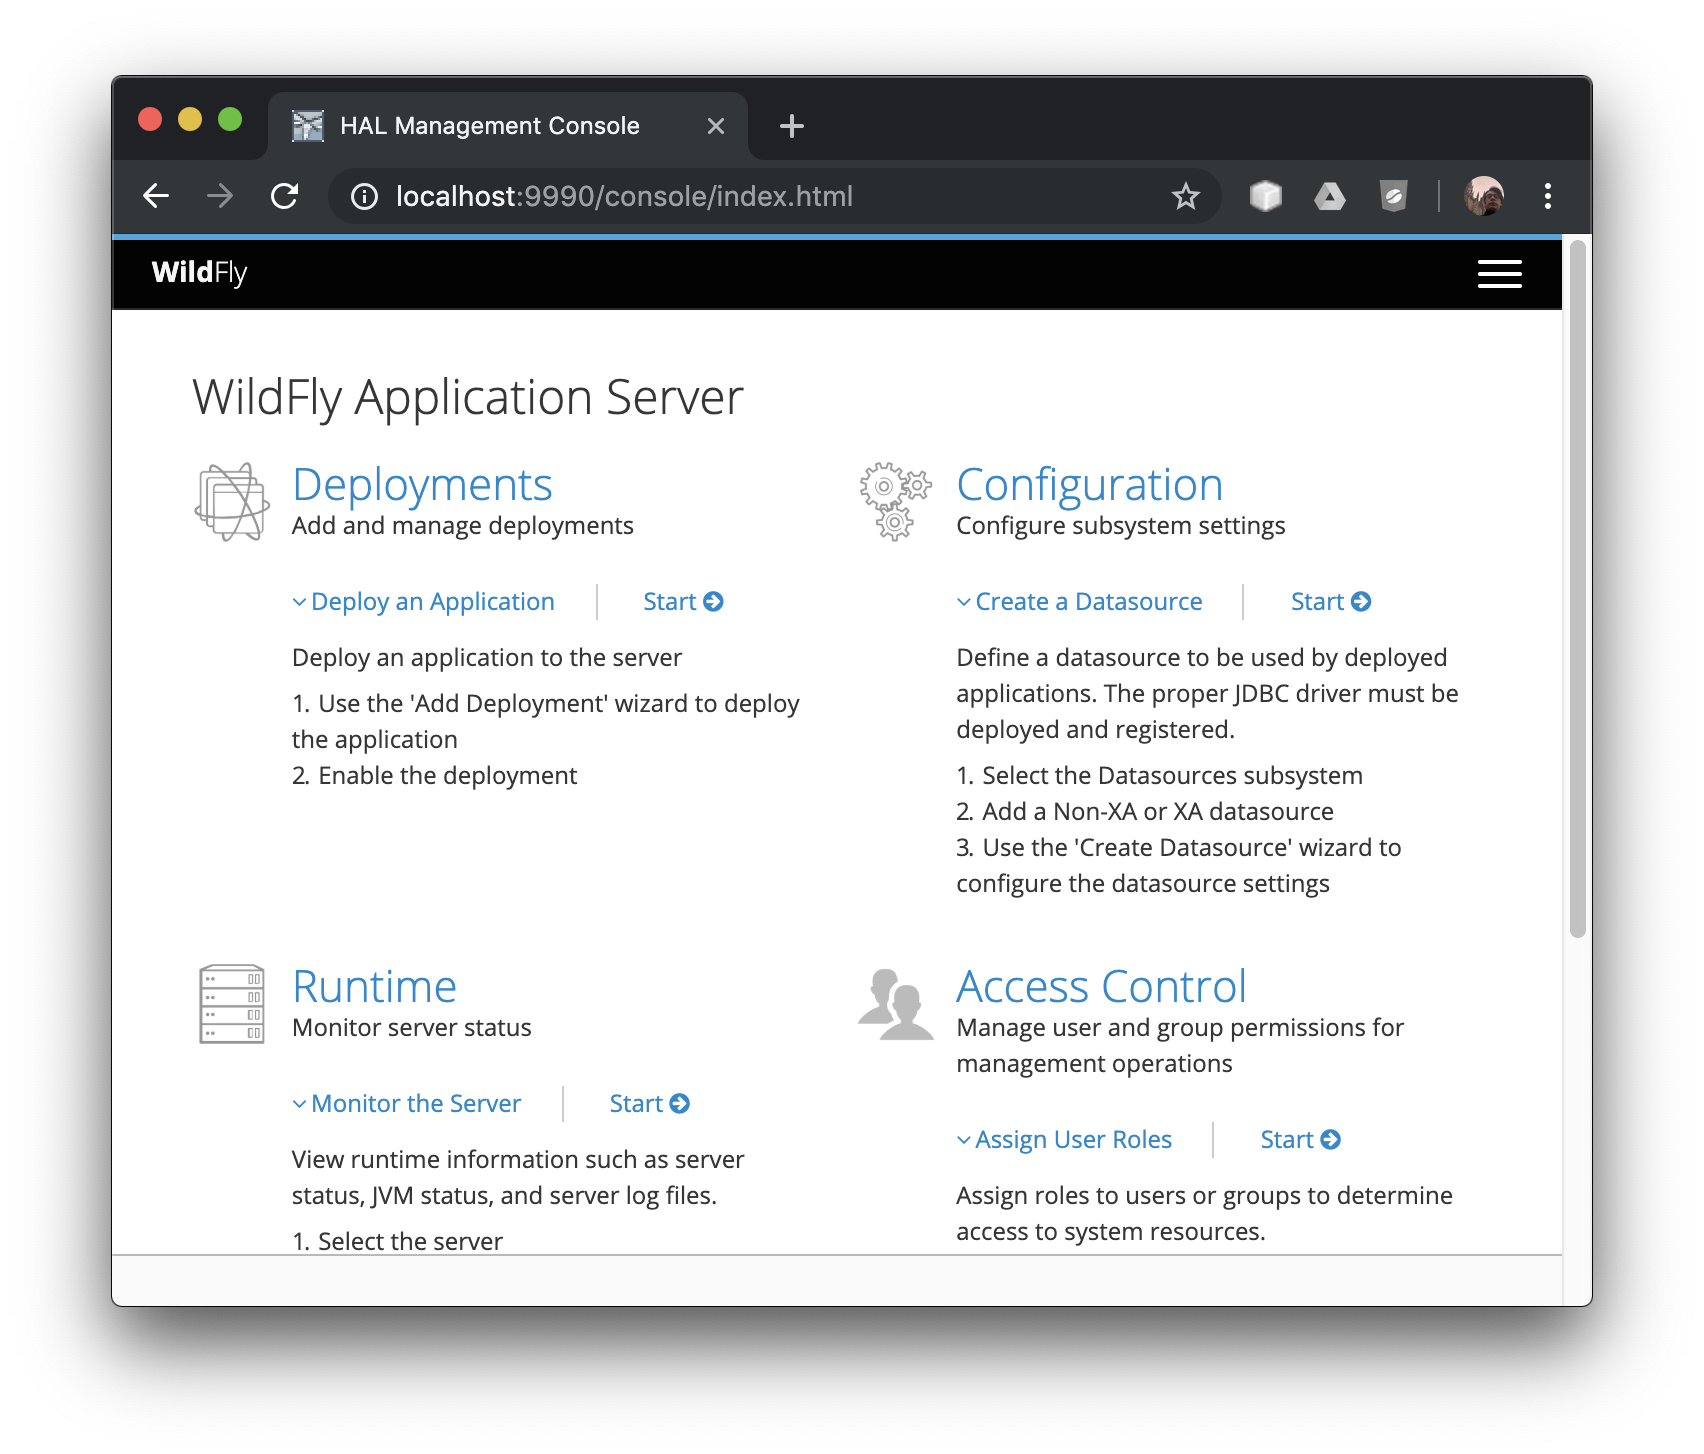
To check your administrative user, go to http://localhost:9990/console/index.html.
Eclipse and Wildfly
Once you have all set, it is easy to add Wildfly to your Eclipse installation. Go to servers window and add a new server instance, the wizard is pretty straight forward so screenshot are added just for reference:
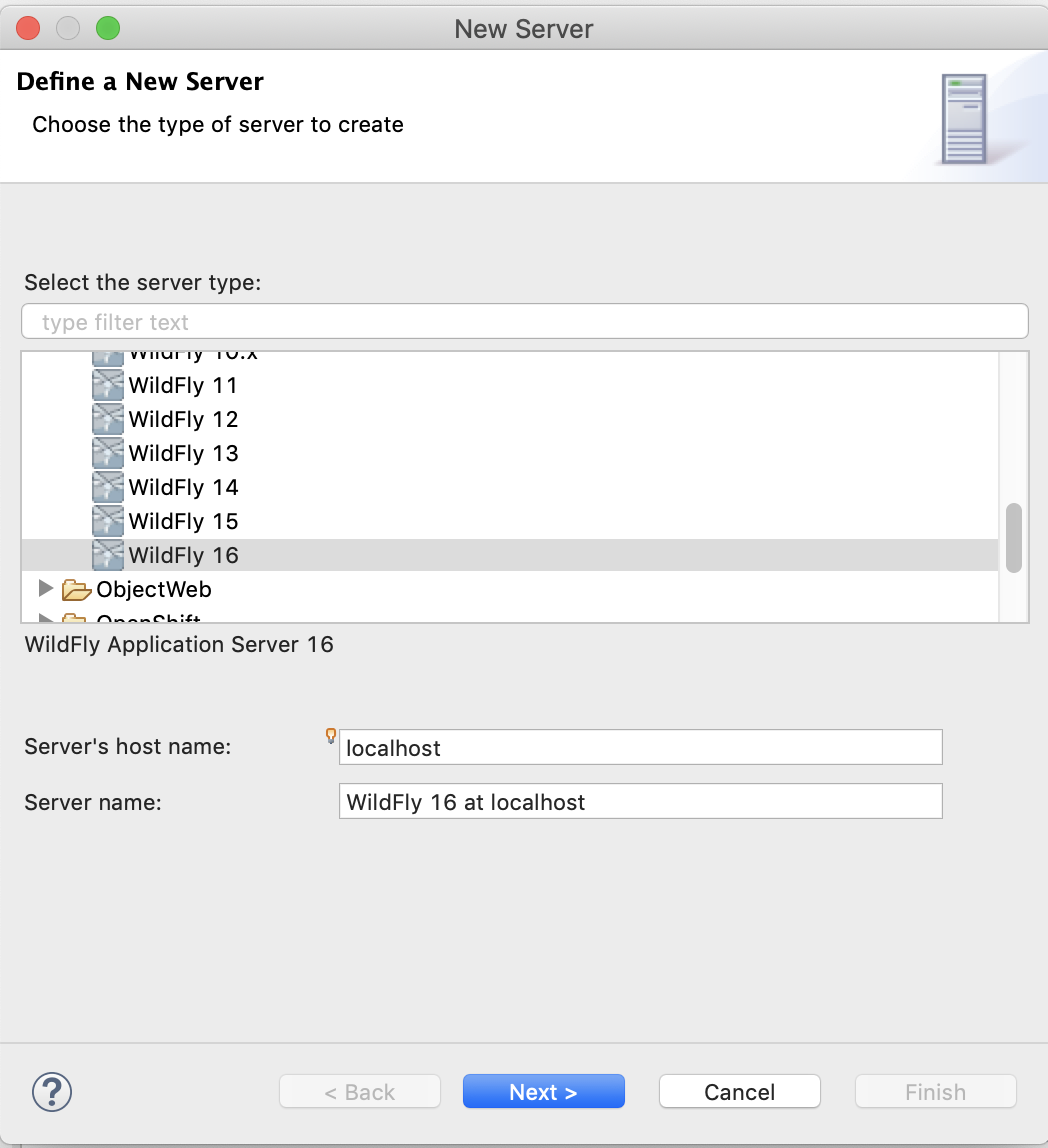
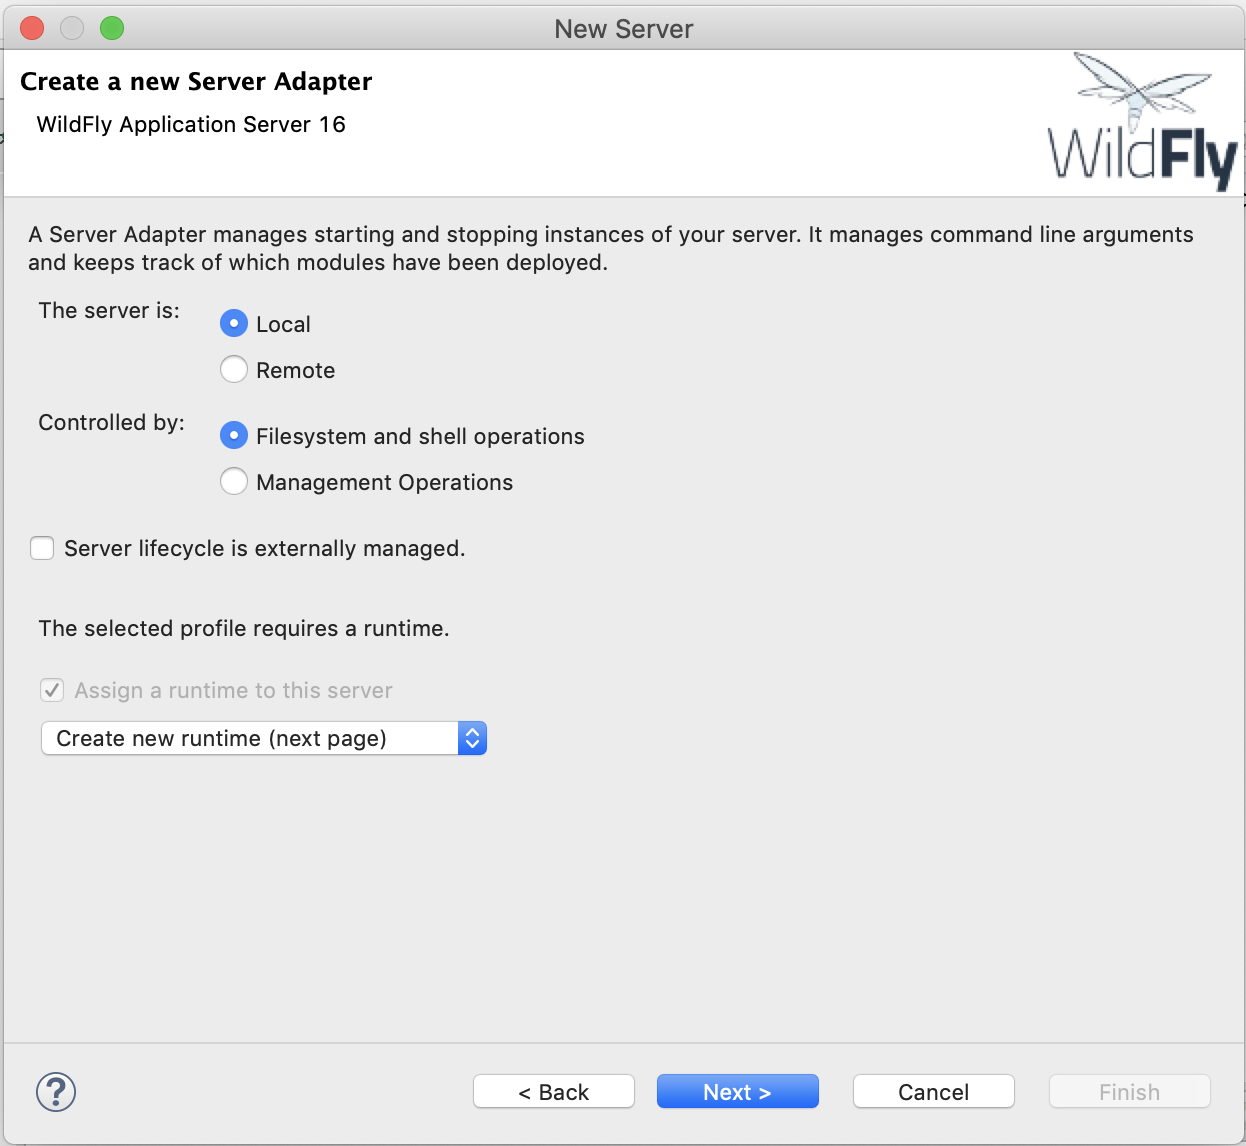
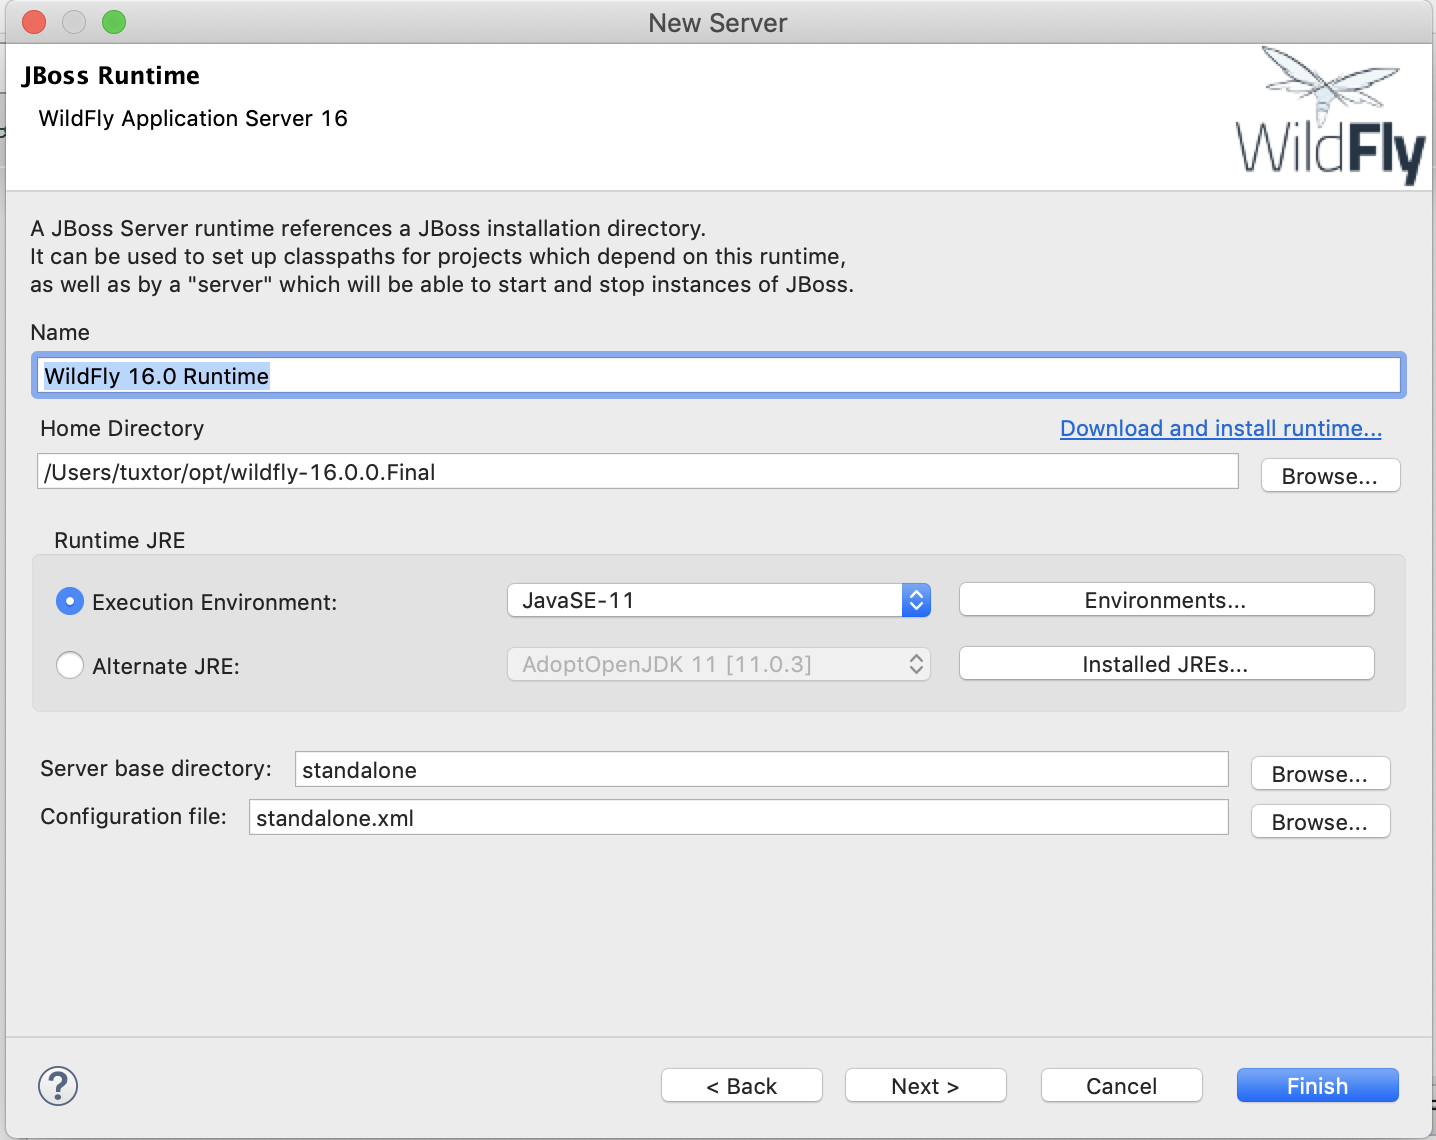
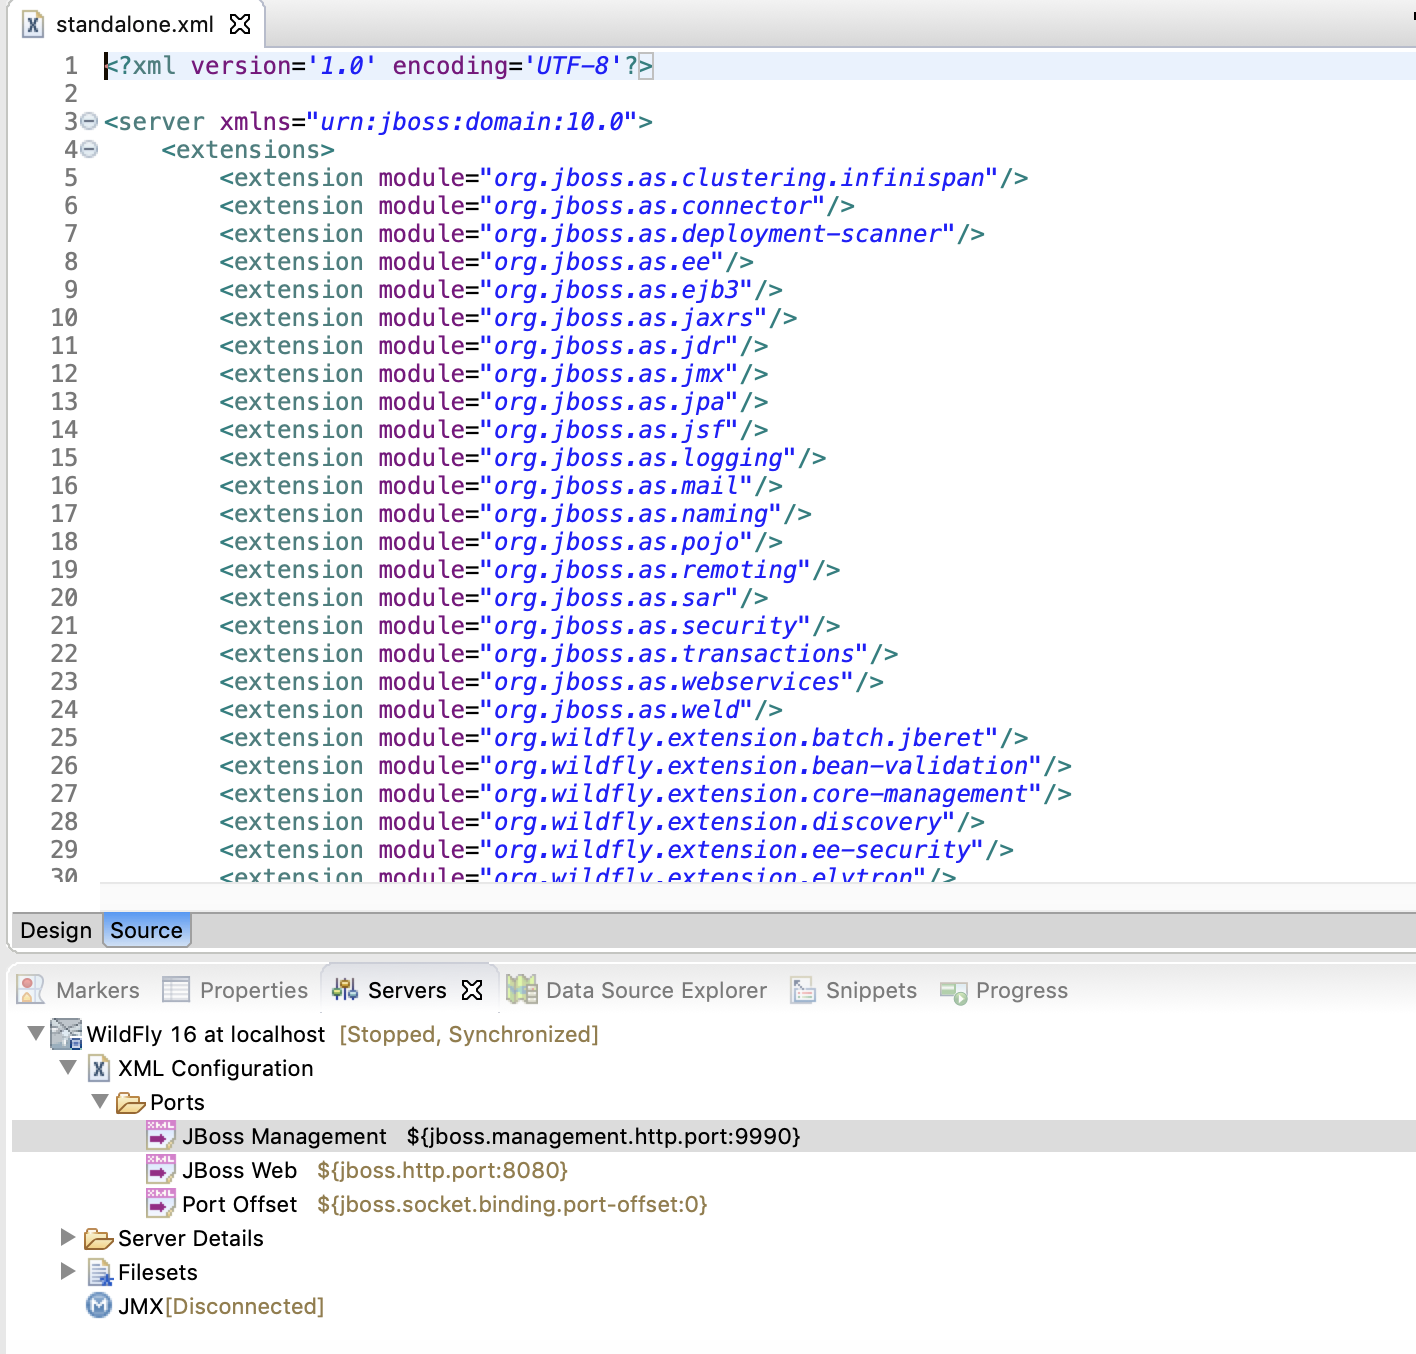
If you wanna go deep on server's configuration, Eclipse allows you to open the standalone.xml configuration file directly from the IDE, just check if the application server is stopped, otherwhise your configuration changes will be deleted.
Testing the environment
To test this application I've created a nano-application using an Archetype for Java EE 8. The application server and the IDE support Java 11 and the deployment works as expected directly from the ide.
